Having finished the framing (which, by the way, was WAAAAY easier and more successful using SPRUCE, not the pine 1x2's. No more splitting!) the next step was to add the Sonopanel. This is a minor (or is it?) deviance from the initial plan of: frame - resilient channel - Sonopanel - drywall. Instead, we cut the panel to sit in between our studs, since it was recommended we have some sort of insulation between studs before the resilient channel went on, and we wouldn't lose that extra 1/2" of floorspace. This should have been easy: cut 16" pieces and fill in the gaps. However, the panels had to be adjusted for each space, since the 1x2's were slightly warped in some cases. The makers of Sonopanel say gloves, masks, and eye protection aren't necessary. However, when you are slicing off bits, you should in fact have a mask and eye protection, since the fibres can get pretty fine and you don't want to breathe that stuff in, toxic or not. Here's how it looked:

The panels have a woody texture, and are quite light. We used a simple blade to cut them. However, they are dimpled on one side; that is the side you direct to the noise. In our case, that meant dimples faced the wall where our neighbour's phone conversation was taking place at the time. No joke, we could hear them talking on the phone.
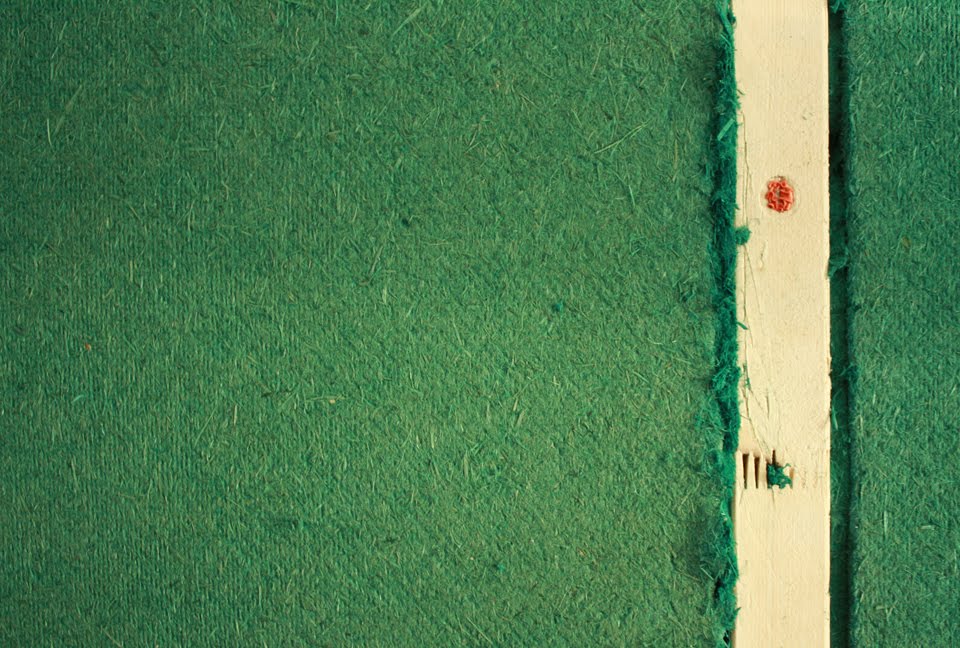
Here you can see a close up of the panels, plus you can see where little gaps were painstakingly filled in with off cuts. We tried the Acoustic Seal stuff, and after one gooey, sticky, messy, smelly line squirted into a gap, we called it off. Diaper cream is an excellent way to remove the junk from your skin, by the way, since soap and water won't do the trick.
Next, we began installing the resilient channel. This goes on horizontally, with the screws running along the bottom. These went in amazingly fast, considering all the time spent on the framing and the panel installation. Our instructions were to have it begin 2" from the floor, and spaced every 16". We had to begin slightly higher off the floor to accommodate the frame and nails. We used the level to run the length of the channels, not the tape measure, as our floor and ceiling both have some variances and are not perfectly level all the way across. Whether this was a good or bad idea remains to be seen, since when we stepped back and measure some of them, the gaps in between each channel varied from 16" to 16 3/8". Here's how it looked in progress:

We used 1 1/4" number 8 wood screws to affix them to each stud. The close-up shows the resilient channel's provisions for screws:

Once this step is complete and we've gone over it all to reinforce the channels, we begin drywalling. This is the part that has me nervous for two reasons. One: shittily done drywall just looks terrible, seeing the seams and puckering. Two: is resilient channel strong enough to hold our drywall? What happens if I want to put a shelf or a large painting on the wall? The whole purpose of the channel is to create a gap behind the draywall (that, and to capture the vibrations in the channels and dissipate them), so every time I want to hang something, should I be screwing into studs, channel, panel?
Today's aside: We were advised (rightly so) to change the locks on the door after taking possession so that only we would have the keys to our house. Being of the mind that we can do anything ourselves, (but I do have numbers for professionals in my little book in case things go horribly wrong) we bought a new lock and I set to. As soon as I opened the instructions, I had a sinking feeling I'd be reaching for the locksmith's number. But I persevered, took out the old lock, and wouldn't you know it? It was easy as pie! Well, after I chiseled some of the wood away to make room for the slightly bigger locking mechanism, cursed a few times after continually missing the link between the outside and inside locks until I realized I had it upside down, and finally struggled with the last screw to get it in far enough that the inside lock could turn all the way. But easy as pie, really!
No comments:
Post a Comment